Hatching Goose Eggs
by Rachele Muglia Paulus
Hatching goose eggs can be a fun and rewarding experience, but it isn’t for beginner hatchers.
Hatching goslings isn’t for beginner hatchers. So many variables affect a successful hatch. Geographical location, altitude, and household climate play a big role in many incubator humidity levels because relative humidity levels are different everywhere.
Incubator brand, proper daily turning of eggs, goose genetics, fertility, and shipped versus non-shipped eggs all affect a successful hatch. There’s no “recipe” or one way to hatch goslings. My methods and techniques for incubating geese eggs are:
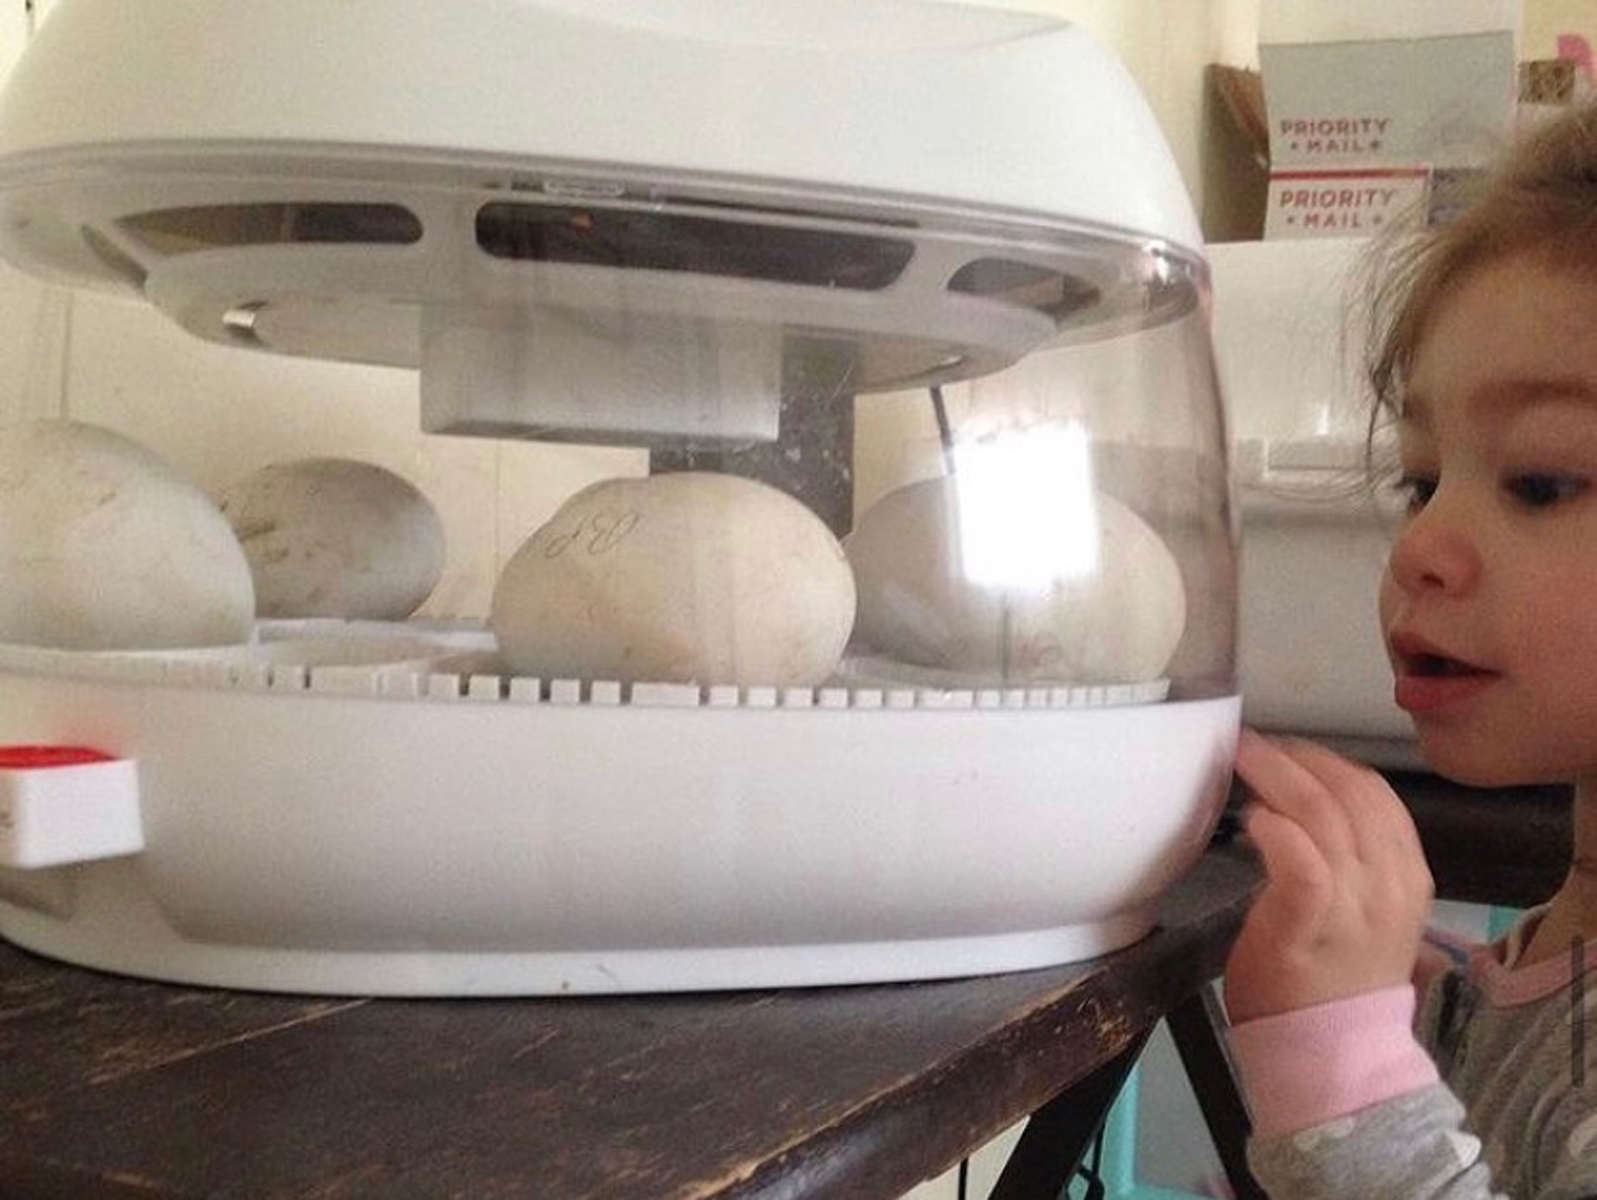
- I use two forced air incubators, one for the duration of the incubation and one for hatching.
- I have two hydrometers calibrated in each incubator.
- My household climate is also monitored.
- My incubators are set up and running prior to setting the eggs.
- My printable charts for tracking are displayed for use and help navigate the process.
- My hatching kit is also available for emergencies. (This includes a tweezers, Q-tips, a pin for poking a safety hole, coconut oil, vitamin B complex liquid, Neosporin (non pain relief), and a stethoscope to help determine internal pip.
- I prefer to rotate my eggs by hand four times a day with daily misting and cooling. (Remove the eggs from the incubator, place them on a soft towel, mist them with a spray bottle, and allow to cool for 10 minutes. When time is up, put them back in the incubator.)
- My incubator temperature is 99.5 degrees Fahrenheit, and I keep my humidity between 35 to 40% for the duration of incubation.
On day 25, my eggs go into “partial lockdown,” I stop rotating, cooling, and misting. On day 25, I transport the eggs into another incubator with humidity increased to 45 to 55 percent. My humidity is increased gradually.
I candle my eggs and listen for internal pipping — when the first gosling has cracked the egg and you can see the tip of its beak — then I increase humidity to 70 percent or higher.
Once pipping is confirmed, they go into “lockdown” for hatching. Personally, I don’t allow more than 24 hours go by without poking a safety hole if external pip hasn’t happened. I make sure I’m home when they’re in this stage and I’ve spent many nights sleeping by the incubators. I’ll talk to the eggs to encourage hatching and it’s fun to see them respond by wiggling the eggs! I believe this is when imprinting starts because they hear our voices.
Set up
Research your breed because some eggs lose moisture faster than others. Always run your incubators at least 24 hours before putting eggs in. I use two hydrometers per incubator, and distilled water for spraying and cool down.
Once you’ve collected your eggs, candle them to check that the air cell is attached and there are no cracks or dents in the egg. I don’t wash my eggs, occasionally I’ll wipe them off gently if they’re covered in mud.
Mark your eggs with a pencil: X on one side and 0 on opposite side for daily rotations. You can also give each egg a number ID or alphabet ID. This helps me keep track. Always allow your eggs to adjust to room temperature for about 24 hours before putting them in the incubator.
I use a forced air, digital incubator that monitors humidity and termperature, and makes it easy to adjust these. They’re great for lockdown and hatching stages.
Humidity
How do you know what to set your humidity to? There are two ways to determine this. You can weigh your eggs (there are online guides for this method), or you can keep track of the air cell development and growth. Personally, I love tracing the air cells, it’s less time consuming and I learn a lot more. If the air cell is smaller than what it should be at a stage, that means your humidity is too high. If the air cell is too big, that means humidity is too low.
Your humidity and temperature may fluctuate when you put your eggs into the incubator. To avoid this spike, you can put infertile eggs in the incubator for the first 24 hours while temperature and humidity adjust. This will help stabilize humidity and temperature during the 24 hour setup. After 24 hours, remove the infertile eggs and set the fertile eggs in the incubator. Here are the day by day instructions I follow:
- Day 1 starts 24 hours after you set eggs in incubator. Do not touch or rotate eggs for the first 6 to 7 days.
- Day 6, check for fertility and trace air cells.
- Day 7 start rotating 4 to 5 times a day, misting and cooling for 10 minutes once daily.
- Day 10 trace air cells.
- Day 14 trace air cells.
- Day 18 trace air cells.
- Day 20 Increase cool down time to 15 minutes.
- Day 22 trace air cells.
Partial Lockdown
By the 24th to 27th day (depending on the breed), the air cells should be good-sized and slightly slanting downwards. With my Sebastopol eggs, I stop on day 25, no more rotations, no cooling and misting. Trace air cells. When putting the eggs back in the incubator, make sure the air cells are facing up.
The cue for internal pip is the “dip down” of the air cells. You’ll see the eggs wiggling as the gosling is getting into hatching position while causing the air cells to increase in size. Upon candling, you may see “shadows” as the gosling is maneuvering into final hatching position.
Lockdown and Safety Holes
Once you’ve confirmed internal pip, you can transfer the egg into your hatcher. With goslings, it’s at this stage that many die after internally pipping because they fail to externally pip before oxygen runs out in their air cells. If I feel that they’re delayed, I don’t hesitate to assist and intervene, especially when hatching a rare species. We do our best to mimic nature, but we aren’t Mama Goose.
With a sterile pin or tiny drill, I enter the center top of the air cell. Candling is done before to make sure the gosling isn’t directly there. A tiny hole is made: 2 to 3mm (not any bigger to prevent drying of the membrane). This “safety hole” has saved the lives of many healthy goslings over the years. It allows fresh air to enter so the gosling can breathe and rest before finishing its hatching. Since doing this, I haven’t lost birds during this crucial stage.

Goslings are challenging to hatch, but they make up for it because they’re so much fun to raise!
I owe my hatching success to Dory Hickey of Happily Feather After and Matt Kmetetez of Breezy Knoll farm, my mentor in geese hatching and friend.
Learn how to candle eggs.
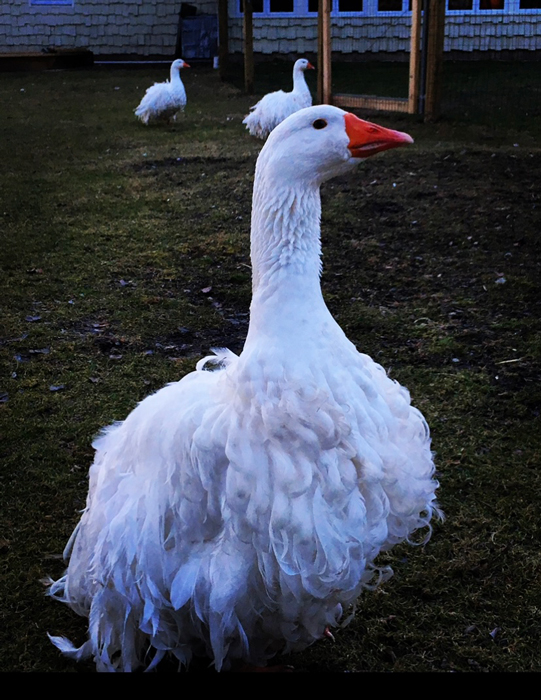
We are FLY AWAY HOME FARM, nestled in Hunterdon County, New Jersey. We specialize in breeding Sebastopol geese. The name of our farm was inspired by a major motion film, “Fly Away Home.” We fell in love with the threatened Sebastopol breed and wanted to help increase their population.
Originally published in the December 2024/January 2025 issue of Backyard Poultry and regularly vetted for accuracy.


